Data from Confluence
eazyBI for Confluence
On this page:
Initial Import
After creating an eazyBI account, you can import selected Confluence data you want to analyze.
From the Source Data tab select Add new source application and select Confluence.
The data import from Confluence is authorized by the user who performs the initial data import: the Confluence credentials are used to detect which spaces and pages could be imported in this eazyBI account and are applied to all consecutive data imports (scheduled or manual).
Select Confluence import options
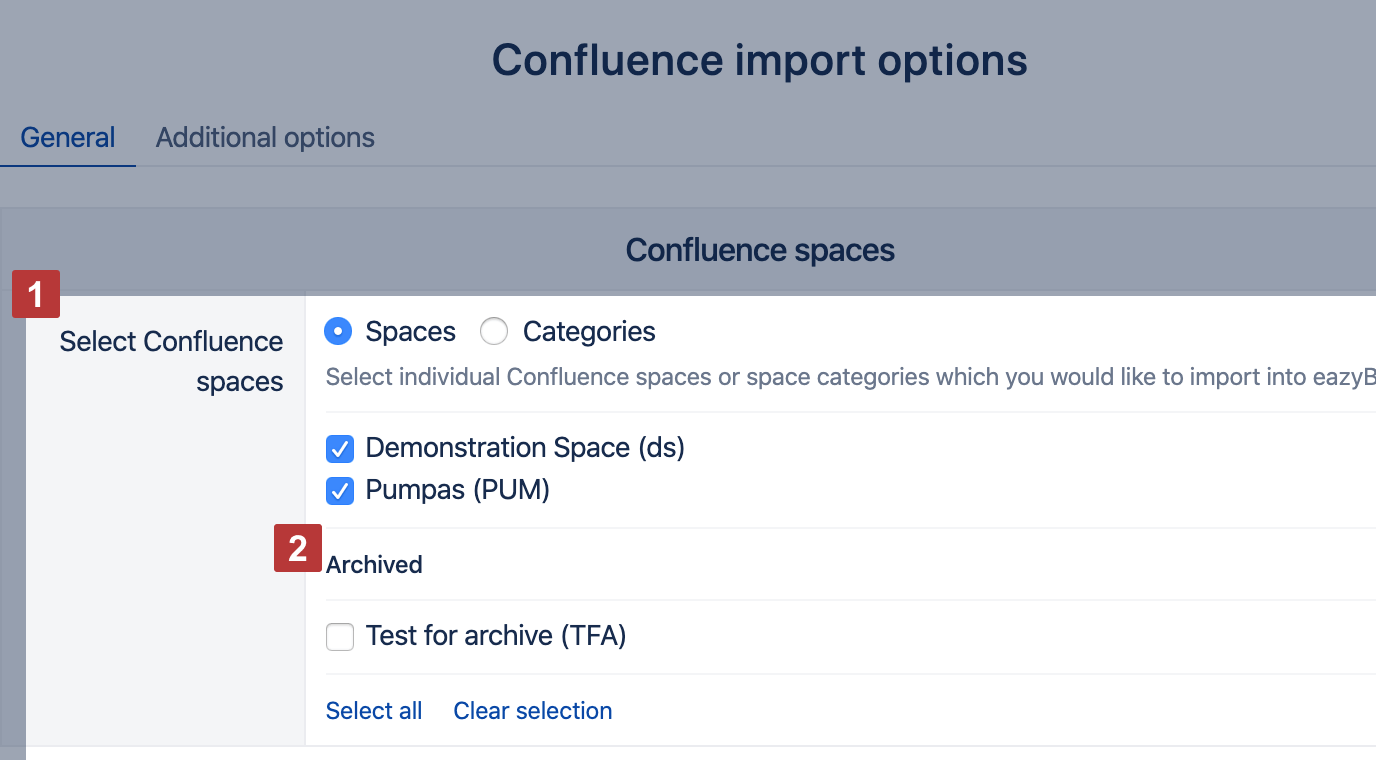
Spaces
Select from which Confluence spaces you would like to import data into eazyBI [1]. You can select either specific spaces or all spaces by Categories (if there are at least 2 categories defined). If there are any archived spaces then a separate Archived list [2] will be shown as well.
eazyBI collects data on page view (who, when, which pages) starting from the moment when an eazyBI account is set up, and space is selected for data import. In the beginning, Page views, Pages viewed, Users viewed, Spaces viewed measures are empty as eazBI hasn't collected data yet.
Search queries
Select Import search queries to import all search queries in this Confluence site (it is not possible to limit only to selected spaces). Search queries are anonymous (users are not stored who performed searches).

Page views history
Restrict page views history to import just the most recent page views events. This feature is available only after advanced settings are added.
The feature is supported for Cloud and since version 7.0.

Schedule
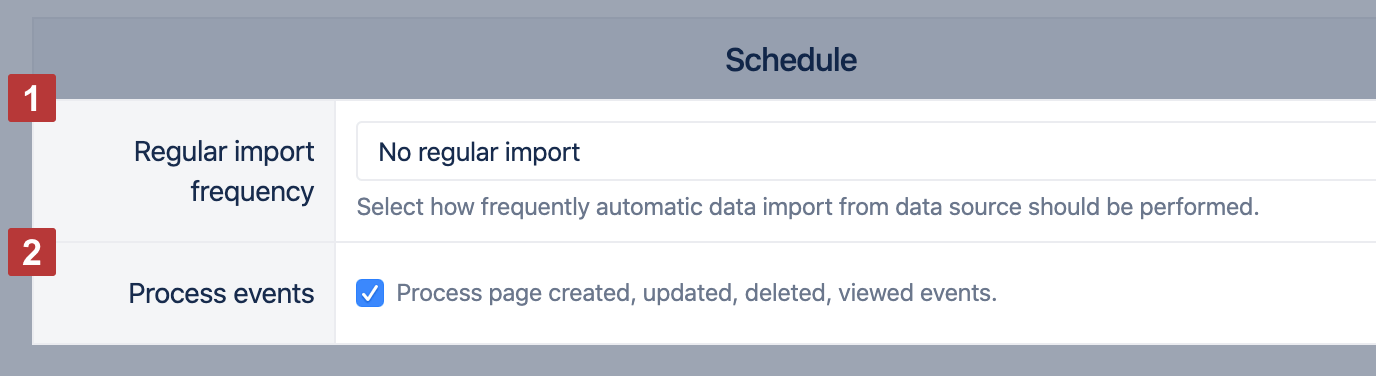
Specify a schedule of how frequently you would like to perform Confluence data import [1]. This will process created and updated pages since the last import. You can select "Every day", "Every hour", "Every 10 minutes" and similar options. The import will be processed 24h, 1 h or 10 minutes, etc. after the last import (manual or regular). If you would like to run the import every day at a particular time, select the "Daily at specified time" option.
Select Process events [2] to process page event webhooks and update changed pages between scheduled imports. Also, select this option if page view events should be processed and imported into eazyBI.
Time dimension
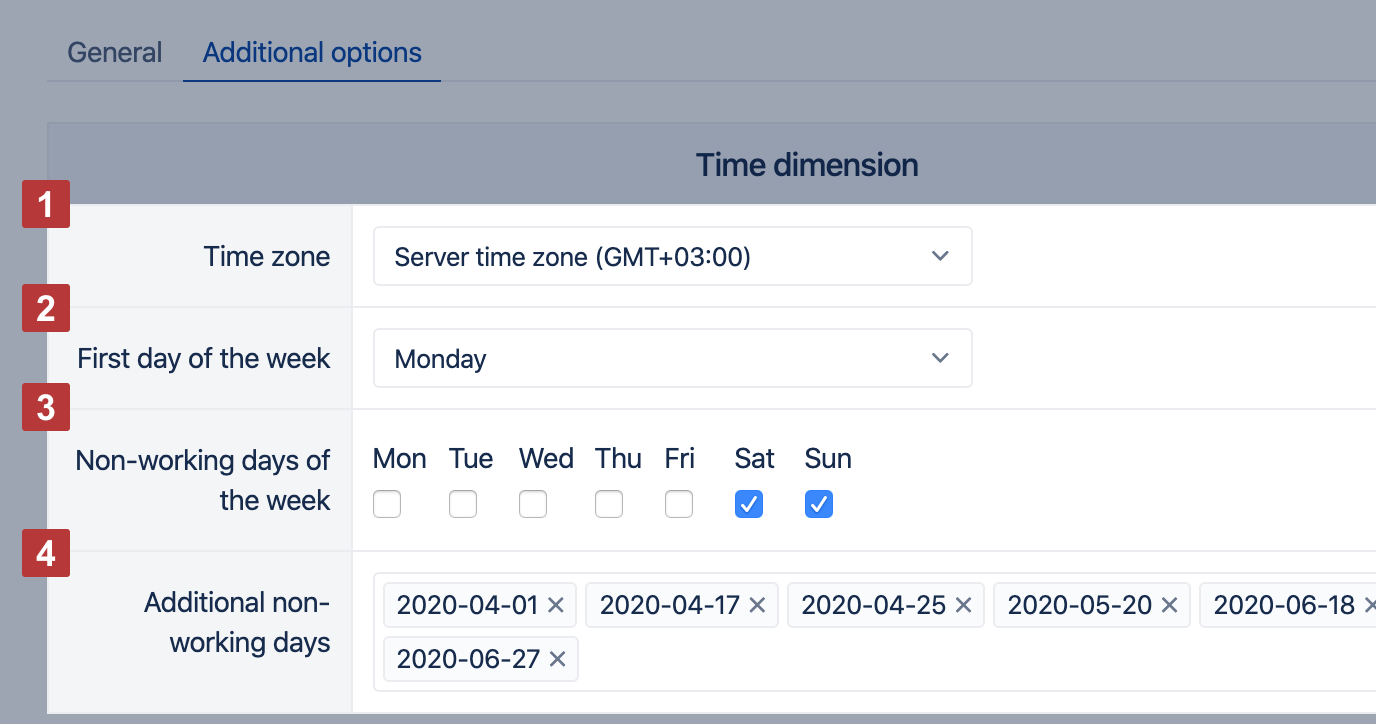
You can specify the time zone [1], the first day of the week [2] and non-working days [3] [4] of the Time dimension.
You can use only one time zone in each eazyBI account. The time zone of the Time dimension will be used to determine the date member in the Time dimension when importing measures (e.g. Pages created, Pages updated, Page views and others) and page properties. We recommend specifying the time zone to which convert all timestamps. If a time zone is not specified then the default server time zone will be used (which is UTC in case of Confluence Cloud).
The first day of the week [2] is used for Time dimension Weekly hierarchy.
Non-working days (standard non-working days of the week and additional non-working days/holidays) will be used to calculate the new workdays measures – Average resolution workdays, Average age workdays, Workdays in transition status, Average workdays in transition status. Non-working days of the Time dimension will be used also for DateDiffWorkdays and DateAddWorkdays MDX functions as a default non-working days argument.
If you have a long list of additional non-working days [4] then you can copy the list and paste in the time dimension options for the different eazyBI accounts.
Sample reports
Select the option "Import sample reports" to get a set of reports created by eazyBI and have a first look at your data in eazyBI.

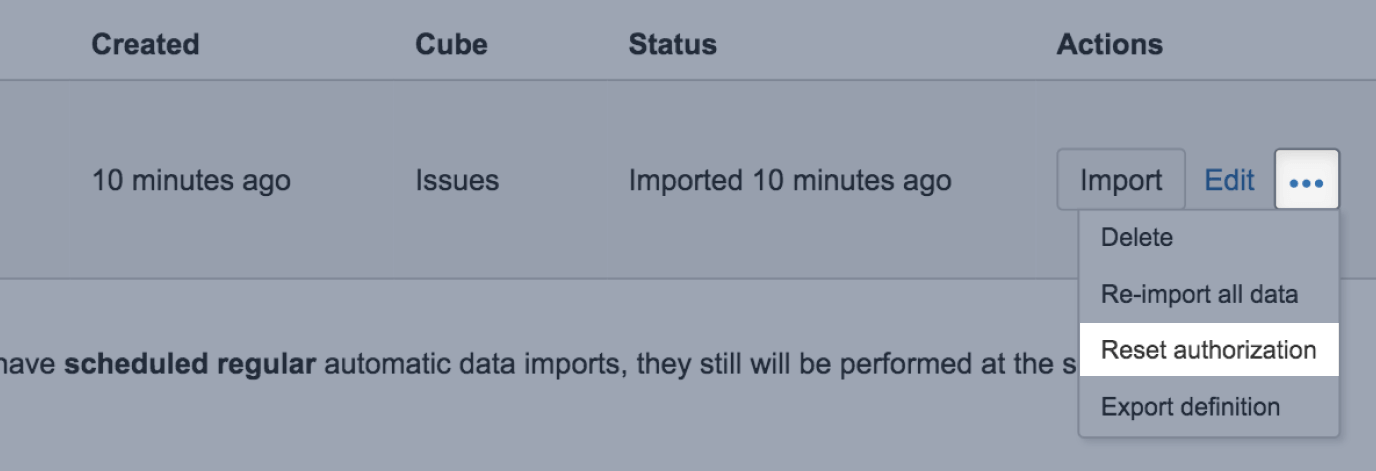
Reset authorization
When the user, who had initially authorized Confluence data import, is not available anymore (is inactive) or does not have permissions to the needed spaces, data source authorization should be reset to another user, otherwise, the next data import won't be successful (will end with error).
The new user must be added to the account with Owner, User Admin, or Data Admin account user roles. She should log in to eazyBI, open the Source tab, and click Reset authorization.
After approving this action, the Status will be changed to "Authorized", and the username of the new user will be visible under Source selection.
Open Edit import settings to select spaces and any other options available for the new user and perform data import.
After reset authorization, the user should run the first import manually. After the first manual import, imports will run as scheduled automatically with the new user credentials.